Foods with collagen/gelatin promote digestive tract healing and are gentle and easy to digest. Bone broth has made collagen famous as a food, but for additional supplementation, collagen and gelatin powders are a quick and easy way to get this superfood into your gut. Gelatin has a long list of healing benefits for diseases such as colitis, chron’s, and peptic ulcers. It’s also high in amino acids, particularly glycine, that is a supportive protein during pregnancy and beneficial to joint mobility.
Note that gelatin powder and collagen powder are NOT the same, and collagen powder will not work in this recipe. Gelatin is used as a thickening agent and is derived from collagen. All gelatin is collagen, but not all collagen is gelatin. I use Great Lakes hydrolyzed grass-fed beef gelatin for this recipe, however there are a number of high-quality gelatin powders on the market today.
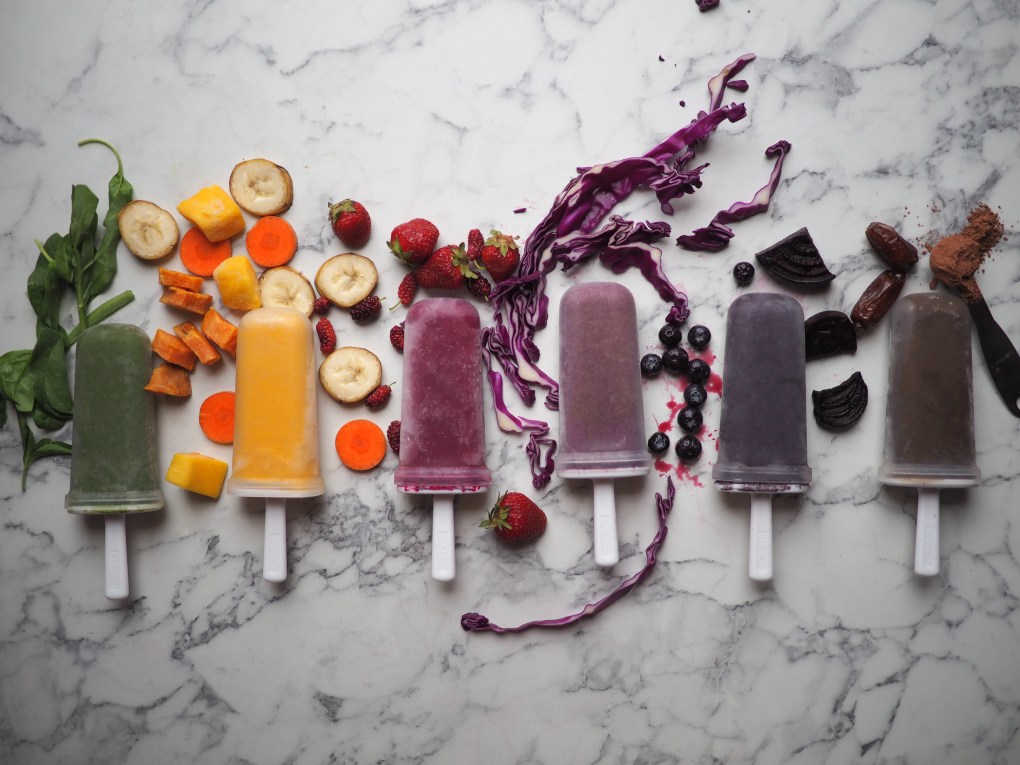
Unlike the electric red Jello jigglers you grew up on, these gelatin gummies contain an abundance of nourishing vitamins that you can dial up or down in this recipe depending on your nutritional needs. Since these immune-boosting gut gummies are the ultimate in kid-friendly finger food, here are the supplements I have used to mix-and-match within my gummies.
Please note, in no way am I’m suggesting you use all of these at once; this is simply a guideline for some of the possibilities and options that you might consider and ones that have complimented the taste and flavor of this recipe! What you choose is up to you!
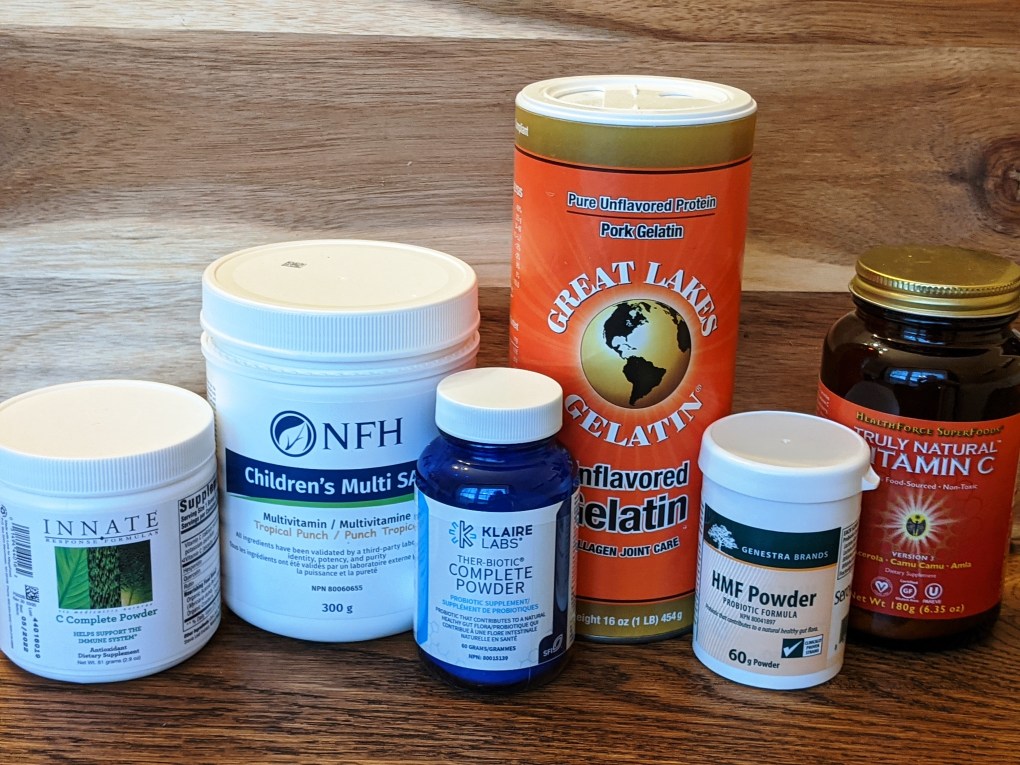
- Innate Naturals Vitamin C Complete powder
- NFH Children’s Multi SAP Powder (tropical punch)
- Truly Natural Vitamin C Powder
- Klaire Labs Ther-biotic Complete Powder
- Genestra HMF Probiotic Powder
To know how much of these powdered supplements to add in your gut gummy recipe, follow the serving size on the label, and add between 2-4 servings of each. For example, if one serving of probiotic powder is 1/4 of a teaspoon, dissolve between 1/2 to 1 teaspoon of the powder into the cooled liquid.

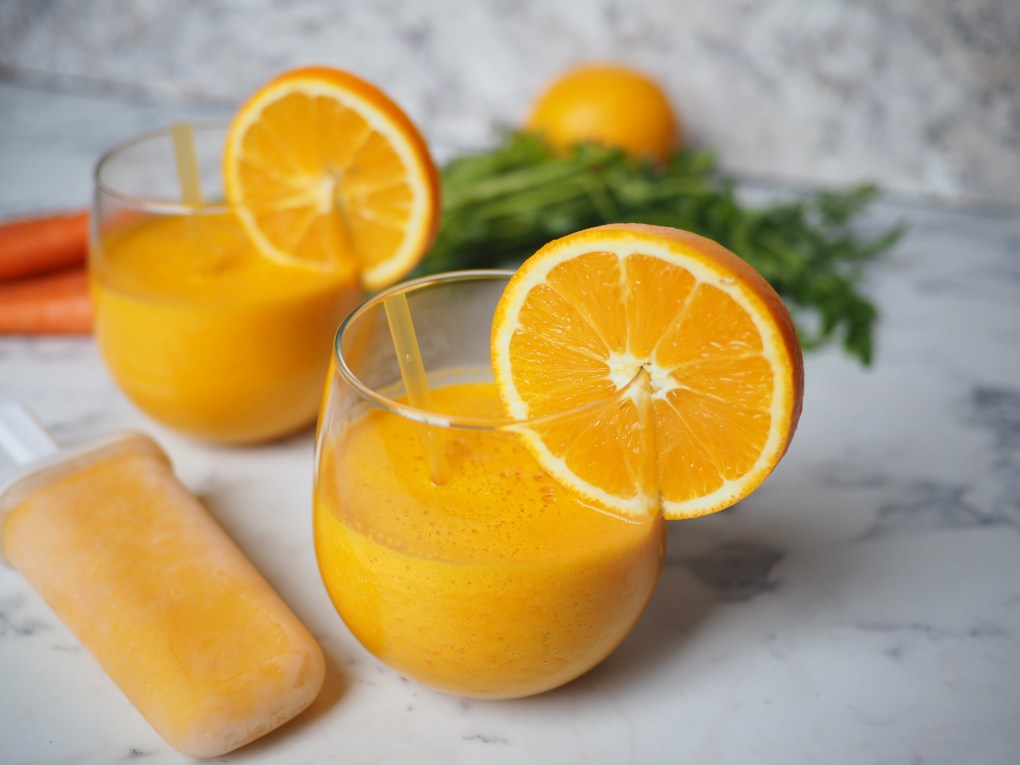
Orange Dreamsicle Gut Gummies
Ingredients
Orange Dreamsicle Gut Gummies
- 1 1/2 cups orange juice
- ½ cup full fat coconut milk
- 3 heaping TBSP grass-fed, unflavored gelatin
- 1 teaspoon vanilla
Optional Superfood Add-Ins:
- Vitamin C powder
- Children’s multi-vitamin powder
- Probiotic powder
- Ginger or turmeric
Directions
In a small saucepan, warm orange juice and coconut milk until heated through, but not boiling. Whisk in gelatin one tablespoon at a time, whisking constantly to make sure no clumps have formed before adding the next. Once gelatin is completely dissolved, add in vanilla and set aside to cool.
Once the gelatin has cooled to room temperature, add in your preferred superfoods, stirring until completely dissolved. It’s especially imperative that the gelatin has cooled before adding vitamin C or probiotics, as heat can damage both of these.
Pour gelatin liquid into candy molds or a glass baking dish before refrigerating. Refrigerate for around one hour or until completely set.
Photos and Content Copyright © Jaclyn Beaty Nutrition, 2021

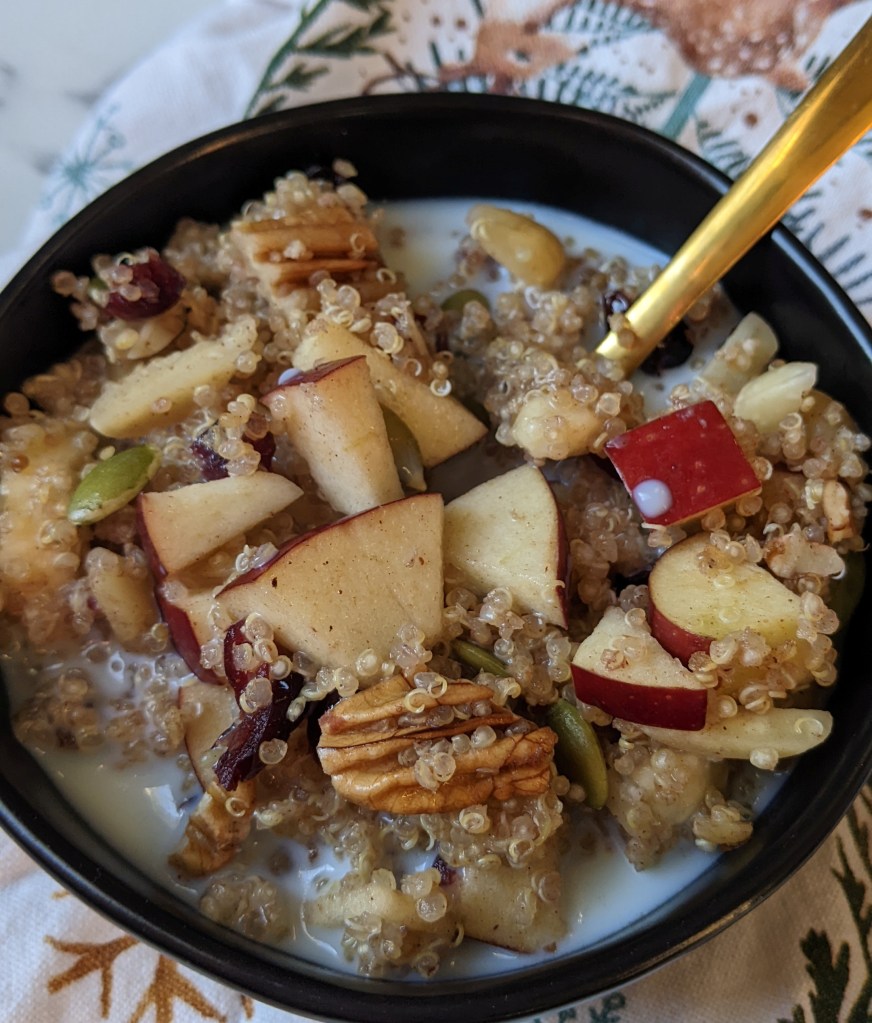
 If quinoa is a part of your dinner menu, plan to double the amount of quinoa and use what remains for this warm breakfast cereal. Healthy fat and protein from the nuts and fiber from the apple and chia seeds are a hearty way to start the day!